Are you wondering how you can start a sports blog from scratch? If you are passionate about any sports having a blog about your specific sports is a great method to share your passion and connect with like-minded people around the world.
Before I show you how you can start a sports blog from scratch I have actually gone through the top 50 sports blog. And decided to show you the process to create a blog that looks like number 10 in the list. If you prefer to watch the video instead of reading this text just follow the steps in the video below.
How to create a sports blog from scratch
Contents
Here are the steps that you need to follow in order to create your sports blog.
- Register a domain name
- Choose blogging platform
- Getting a Web hosting
- Install WordPress
- Choose a theme or the look of your website
- Install plugin
- Create the first post
- Customize the post and add more elements to it
- Publish your content and go live
- Create a category and related menu items
Disclosure: This guide to starting your own blog contains some affiliate links. If you purchase any service through one of these links I may earn a small commission, this is at no extra cost to you, appreciate your support.
Register a domain name
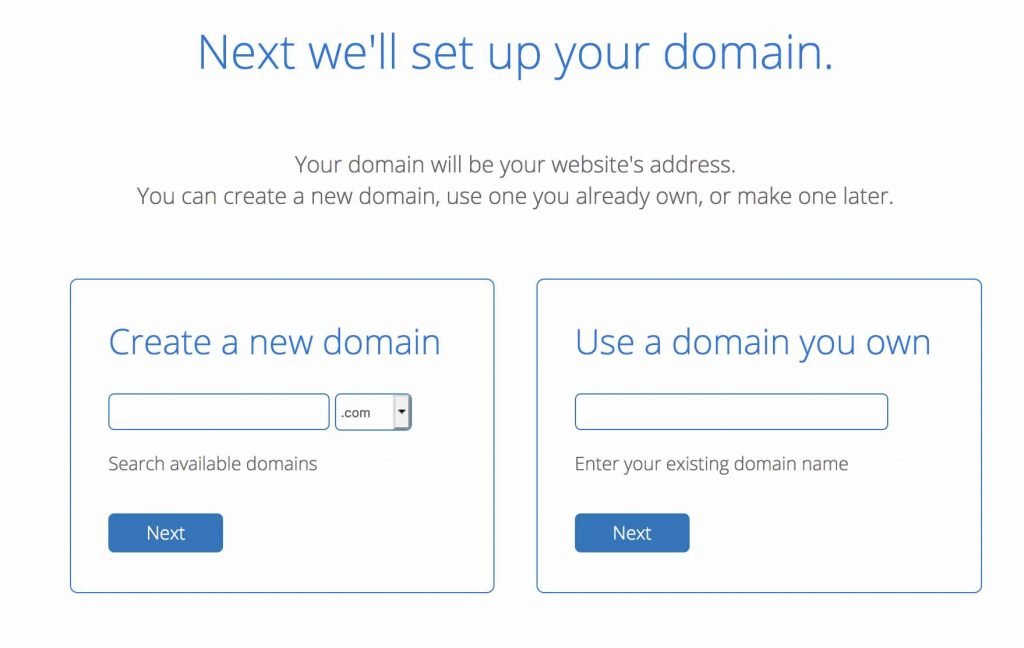
Now that we know the niche that we trying to target which in this case is sports. The first thing that we need for our sports blog is a name aka domain name. The domain name is the name of the website and through the video above you analyze the website called sportsaldente which is the name of that website.
If you are not sure what name to choose for your sports blog you can use other third-party services that can help you come up with a nice name for your website based on the keyword that you choose. But don’t wait for a long time to come up with a perfect domain name because I don’t think there is anything called a perfect domain name. I have seen some really successful blogs have a very weird domain name and they are still doing great.
One thing to consider when it comes to the domain name is the extension. If the .com extension of your domain name is available try to go with .com instead of choosing other extensions.
Choose blogging platform

There are so many blogging platforms out there that you can choose from. But the one that we are going to use in this tutorial is WordPress. WordPress is probably the most popular blogging platform. It is an open-source platform which means it is free which is great.
Also, it powers more than 30% of the website online and is very easy to customize and add features to it. It also provides thousands of free themes that you can choose from and a lot of plugins that can help you add professional functionalities to your blog for free.
Getting a Web hosting
Web hosting is a place where your files and folders will be stored. Your website is nothing but a bunch of files and folders and you need a place to stores these files online. When it comes to web hosting you have two options. You can either choose free web hosting or a paid one. Free web hostings are great but it comes with a catch actually several catches. You a very limited space for your files and in most cases they display so many ads that can be very distracting to your audience. This can also increase your bounce rate which is bad for your SEO and website ranking.
The web hosting that i.m going to use in this tutorial is Bluehost. It’s recommended by WordPress official website and once you get it through the affiliate link below you also get a free domain name for the first year as well. Get your web hosting here.
Install WordPress
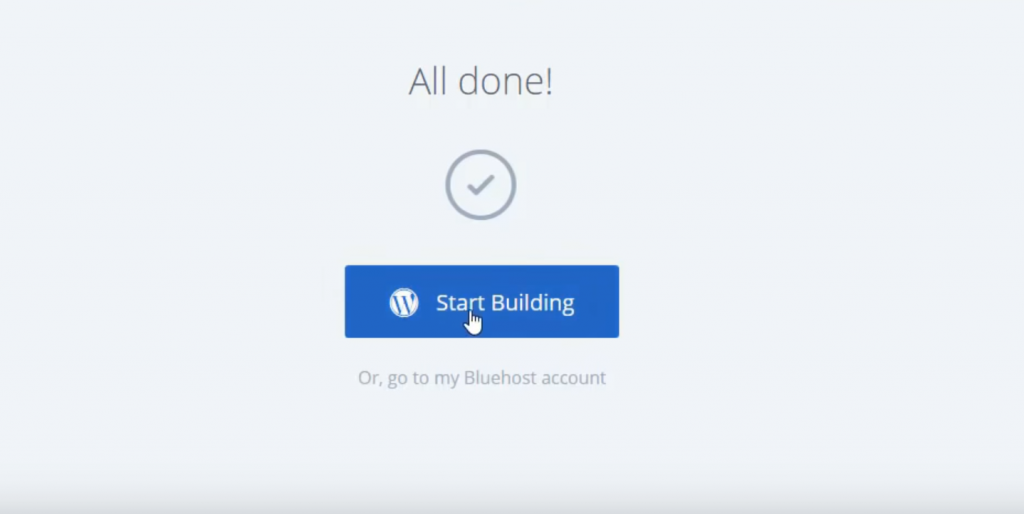
After you registered your domain name and purchased your web hosting through the link above. At the end of the registration process, you will see a login button, and once your click on that button Bluehost will automatically install WordPress for you. So you automatically install WordPress as a part of the process which makes it even easier.
Choose a theme or the look of your website
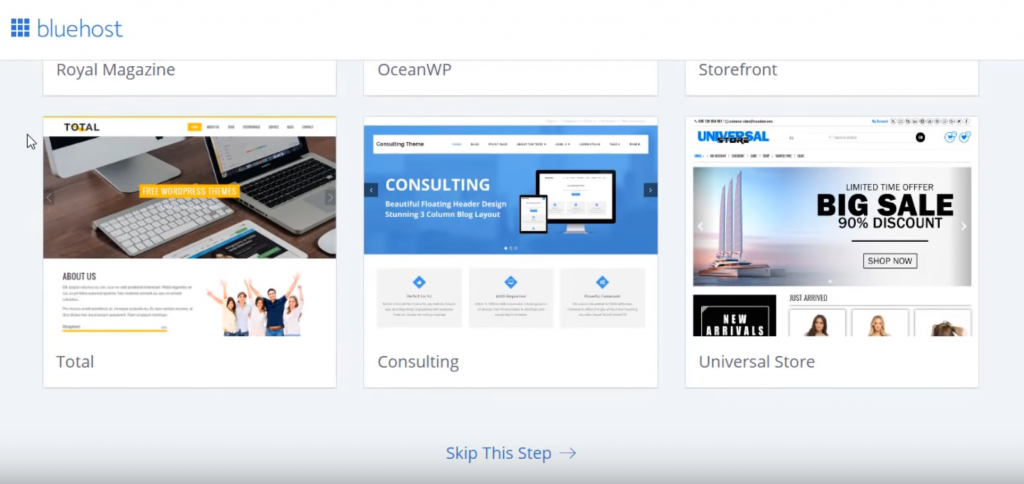
For every website, you need to choose a theme or the look of your website. The theme that I recommend and also is used on the website that is shown in the video above is called GeneratePress which is of the fastest themes available. It is a free theme but if you would like to unlock the premium features you need the purchase the premium version.
But the free version is enough to start your blog.
Install plugin
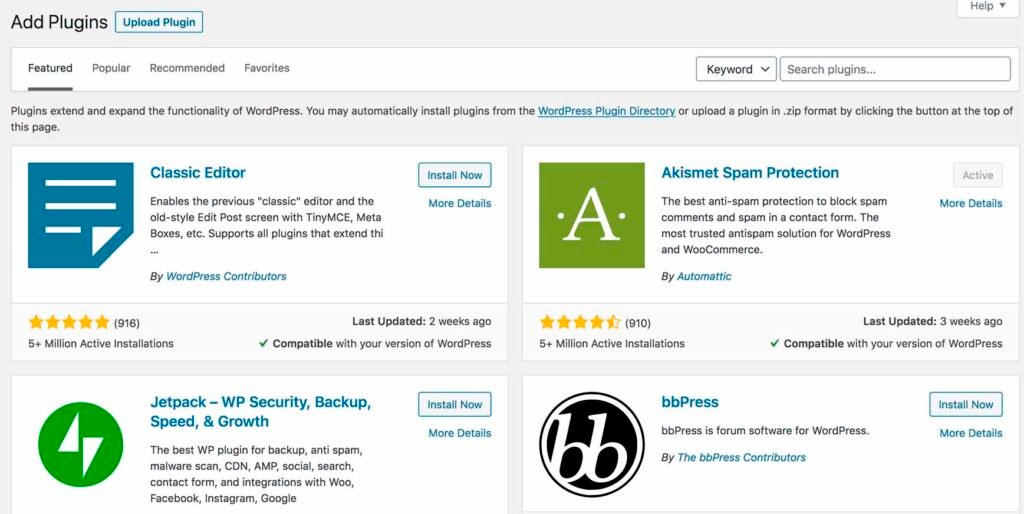
If you would like to unlock the premium features of the theme above you need to install the realted plugin for that theme. also one of the most common plugins that you need for your sports blog is the SEO plugin.
The SEO plugin that I recommend is called Yoast and to install Yoast or any other plugin just go to the plugins section from the left menu on your WordPress dashboard. Click on add new and in the search bar search for the plugin that you would like to install which in this case search for Yoast. Then click and install and activated and you are good to go!
Create the first post
Addin quality content is one of the most if not the most important steps in blogging. You can add content either through posts or pages. And if you are wondering what is the difference between a post and a page. They are pretty much the same thing but posts are more dynamically content meaning you can constantly change your post to make it better. Especially for SEO and ranking.
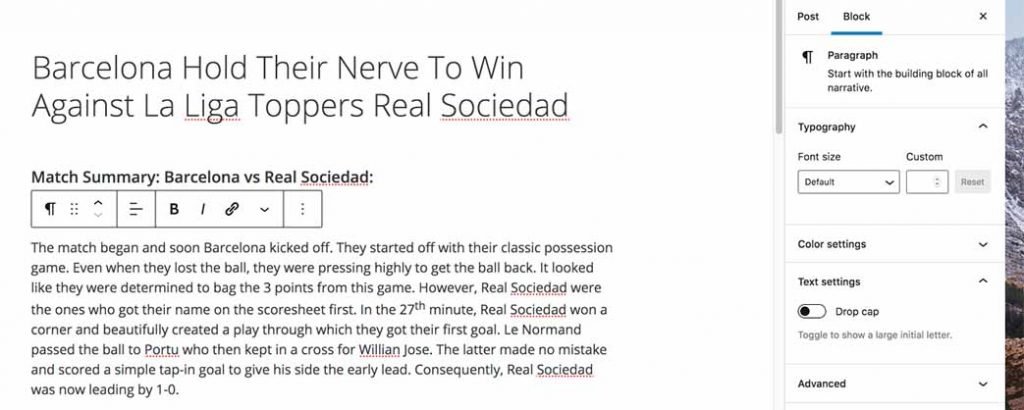
In order to add a new post or page simply hover over the posts section from the left menu and then click on add new and you will get to the editor. Once you are in the editor you can add a header and description for your post.
Customize the post and add more elements to it
Customize the post and add more elements to it. Having a blog post full of text content can be a bit boring for the visitors so it is recommended to add other elements like images and videos to your blog post so that it looks more exciting and engaging. This can help your blog visitor to stay around for a longer period of time and reduce your bounce rate.
To customize your blog post and adding more elements just click on the black plus button in the middle of your content and select the elements that you would like to your content. if you having so many images make sure to use the jpeg format and reduce the size of the images so that the website load time decreases.
Publish your content and go live
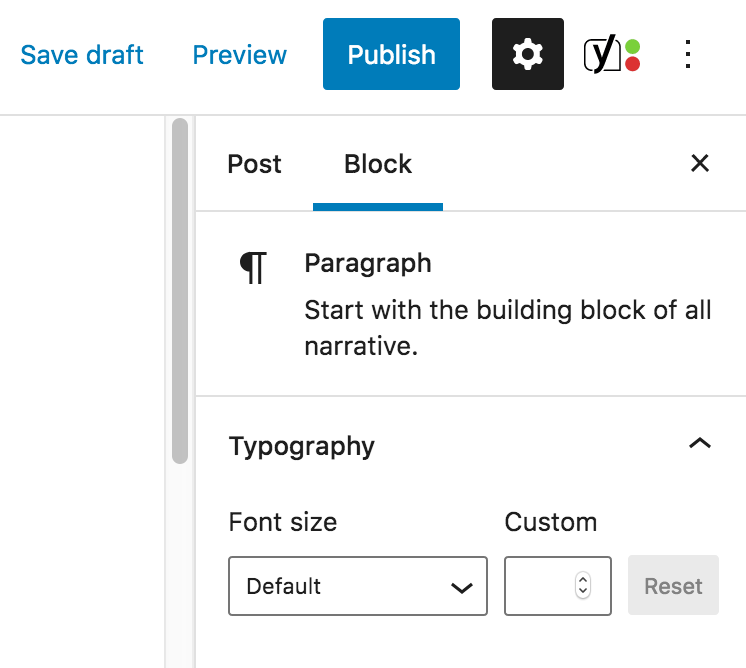
After creating your content it is time to publish it to the world so that everybody can access your content from anywhere in the world. In order to publish your blog post or page click on the blue publish button on the top right corner of your post page and make your content available to the world.
Now that you have your sports blog up and running and adding your content to it is time to add a menu to your website. Menus make it easier for your visitor to navigate through your blog. you can also categorize your content and add those categories to your menu.
Let’s say you want to have a category for basketball and football. You can simply go to the category section from the blogs on the left menu and add your categories. Then go to the menus from the left menu of your WordPress dashboard and add a new item to your menu.
Now you can select the categories that you would like to add to your website. And in order to show the related posts to that category make to set the category for a blog post as well.
If it sounds a bit confusing make sure to check out the video above so that you follow the process step by step and start your sports blog without missing any part. So this is how you can start a sports blog from scratch in only 10 minutes.